Checking Secrets into your Repo with Git-Crypt
Isn’t this bad?
The title might (and should) set off some alarms in your mind. Everything we’ve learned about security has told us that you should never check in sensitive information into your repo.
However, when we’re starting a new small project, or dealing with lower-stakes information, this can seem more like an unnecessary hassle.
This likely feels familiar to mobile app developers who almost always depend on client IDs, API keys, and other sensitive information. Information they’d like to secure but at the same time, recognize are available to any malicious actor with enough drive to decompile and sift through their apps.
But I Have a Private Repo
Yes! Great!
Now that Github and other hosts offer unlimited private repos at no cost, there is no reason not to. However, as recent events have proven, these are not untouchable and of course, nothing is immune to human error
Ideally, we want to feel safe that if our repo was suddenly public, only the people we trust will be able to get the most sensitive data from it.
Enter Git-Crypt
Git-Crypt is a tool which lets us define different files in our repo which should be encrypted and out of the prying eyes of untrusted individuals.
It does this by watching your repo and when an authorized user updates a sensitive file, encrypting its contents right before it is committed and decrypting right after it is pulled.
This means its completely transparent to authorized users working in the code encrypted for everyone else.
NOTE: It works on a file-level of encryption so if you have these keys hardcoded as strings throughout your app, your first order of business is to consolidate them into one file. I’ve written previous articles about how to consolidate these with dotenv in Node as an example.
1. Installation
If you’re a Homebrew user, this is as easy as running
brew install git-crypt
For other systems, consult their documentation
2. Setup your repo
Assuming that you have a git repo set up for your project, navigate into your repo’s directory run:
git-crypt init
3. Specify which files to encrypt
Now that git-crypt is watching your repo, we need to let it know which files to watch.
Let’s say your repo looks like this
.
├── .git
├── .gitignore
├── SUPERSECRET_FILE.yaml
├── other_secrets
│   ├── secret1.json
│   └── secret2.xml
└── src
    └── api
Looks like there’s a lot of top secret stuff in here and we’d preferably like to encrypt SUPERSECRET_FILE.yaml as well as all of the contents of the other_secrets directory.
Luckily, git-crypt uses a similar system to what we’re used to in .gitignore to specify files so that’s as easy as defining a .gitattributes file with the following:
SUPERSECRET_FILE.yaml filter=git-crypt diff=git-crypt
other_secrets/** filter=git-crypt diff=git-crypt
.gitattributes !filter !diff
The first line specifies the SUPERSECRET_FILE.yaml individually while the second line specifies all contents of the other_secrets directory. Note: We use ** to also include possible subdirectories as * would only include direct children.
The third line protects us from ever accidentally encrypting our .gitattributes file with other entries.
4. Add our git-crypt changes to the repo
Once we’ve done this, we simply commit all of our changes and push it up to our repo.
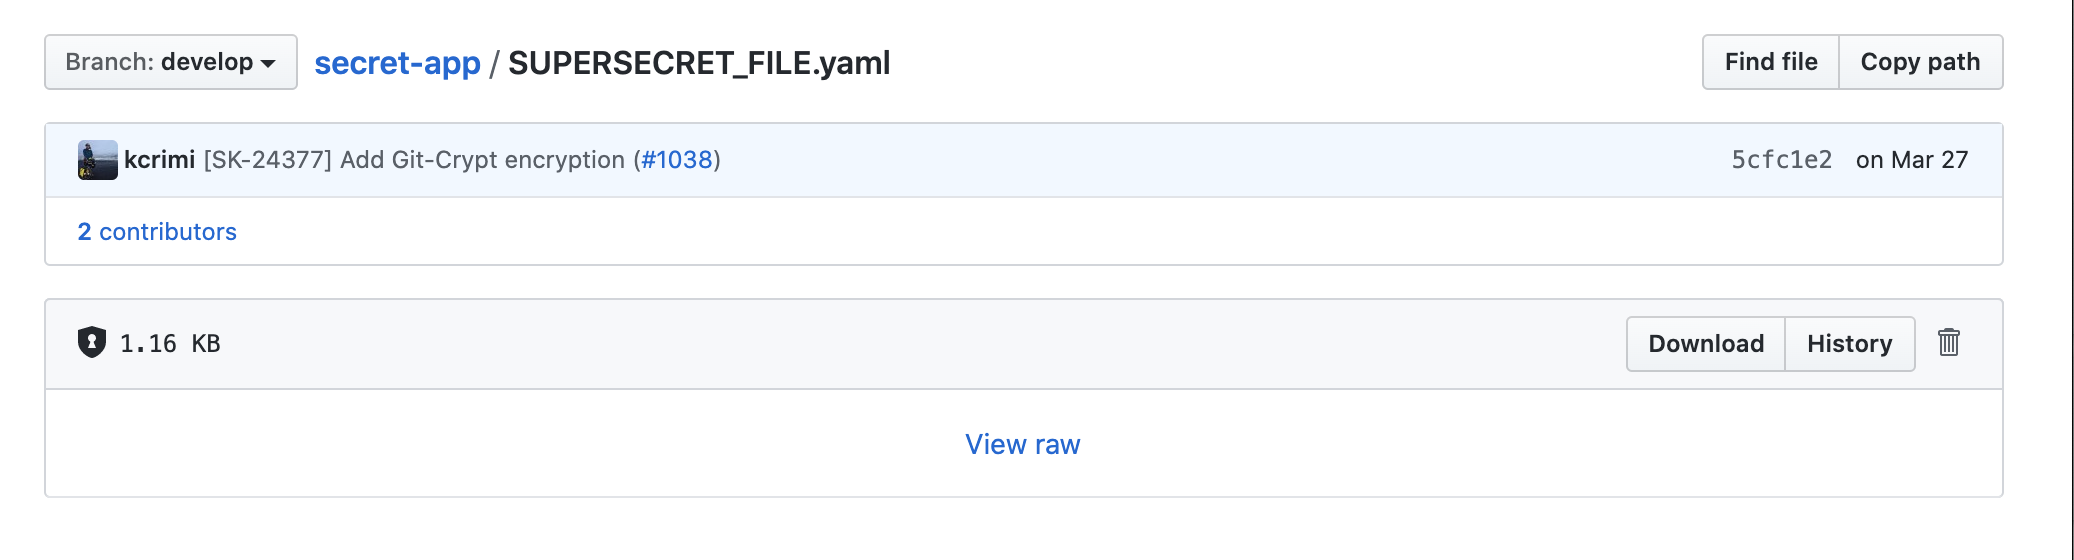
Now if you navigate to the file in github, you will no longer be able to see the contents of the file.
5. Sharing access
Great! So now even if someone somehow gets access to our repo, they will not be able to get our secrets! But what about your collaborators?
The simplest solution is to just export a key used to encrypt/decrypt the files by running the following within your repo.
git-crypt export-key /path/to/myRepoKey
From here, it’s on you to secure this key and make sure it only gets to the people that need it. I’ve personally had a lot of success with storing it in a 1Password vault when the team is small or perhaps just sharing between multiple computers.
Git-crypt also supports sharing access via GPG which gives a bit more user-management control but also requires all users to set up a personal GPG key so I won’t be going into that in this article.
6. Joining a git-crypt protected project
When you get a new collaborator, all they need to do is get the key you generated above, install git-crypt, clone your repo, and run
git-crypt unlock /path/to/downloaded/myRepoKey
Voila! They can now see all the encrypted files and commit edits to them which will also be encrypted.
Limitations
While this is usually enough for smaller projects, there are a few downsides which can build as you add collaborators.
Merge conflicts
If multiple contributors change the same encrypted file (say, if you both add a new secret to a config file), your ability to see line diffs is gone, meaning the changes are definitely not fast-forwardable and possibly impossible to resolve without collaborating to confirm what is expected to change.
User management
As I mentioned, sharing a file works for a handful of people but can get out of hand with a bigger team. You’d likely want to switch to the GPG functionality or a different tool which can work with remote access management or remote KMS (key management systems).
Alternatives
If you are working in a bigger org, I’d recommend looking into SOPS which solves both of the above problems. First, it only encrypting values of config files, rather than the whole files. Second, it can hook into your bigger developer ecosystem by integrating with AWS, Azure, GCP, and PGP KMSes.
Conclusion
If you have a devops team at the ready, SOPS offers finer control on security but for the little guy, Git-Crypt is a great way to keep your security while also keeping your code in one place.
When the alternative may be a loose config file storing the secrets in plain text – easy to lose and hard to replace – git-crypt offers the benefits of version control while mitigating some of the privacy concerns.